第一次接触背景渐变的时候其实没什么感觉,但自从看了《CSS揭秘》后发现背景渐变可以有很多种玩法,可以替代一部分图片实现的内容,效果非常棒
线性渐变
css背景渐变基本语法格式:
background: linear-gradient( [ <angle> | to <side-or-corner> , ] ? <color-stop> [ , <color-stop>]+ )
第一个参数是代表渐变的角度方向,可以是角度值或者方向顺序
默认角度为180deg,代表渐变方向是垂直向下的,90度是水平向右,对应的方向顺序也可写成to bottom、to right
1 2 3 4
| .box { background: linear-gradient(#0f0, #00f); background: linear-gradient(90deg, #0f0, #00f); }
|


第二个及之后的参数是颜色值与其起止位置
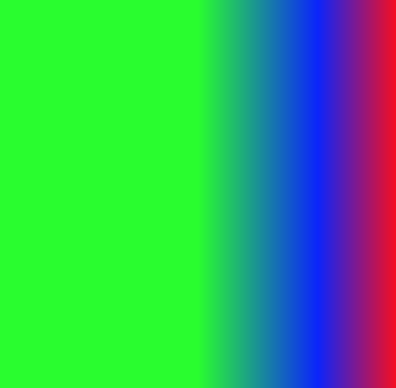
还是上面的例子,只指定颜色值,至少要指定两种颜色,默认将平均分配,每个色值各占比例相同。可以使用数值或者百分比调整渐变的长度,推荐使用百分比更加灵活。
1 2 3
| .box { background: linear-gradient(90deg, #0f0 50%, #00f 80%, #f00 100%); }
|
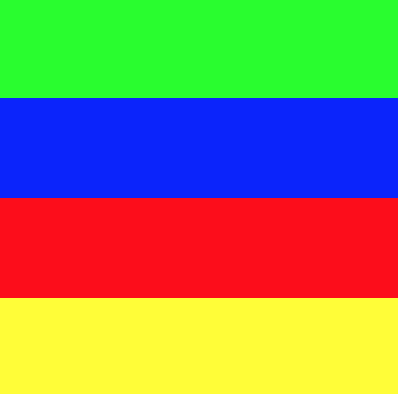
在一个位置的分界点设置不同的色值,可以做出条纹的效果
1 2 3 4 5 6
| .box { background: linear-gradient( #0f0 25%, #00f 25%, #00f 50%, #f00 50%, #f00 75%, #ff0 75%); }
|
径向渐变
径向渐变基本语法格式类似:
background: radial-gradient( [ <bg-position> || <angle>, ] ? [ <shape> || <size>, ] ? <color-stop>, <color-stop> [ , <color-stop>]* )
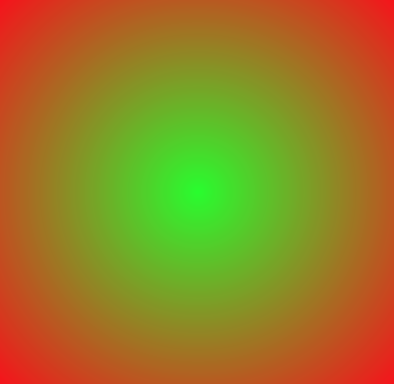
第一个参数是代表渐变的位置,可以是方向的含义,也可以是确切的数值,默认在中心位置
1 2 3 4
| .box { background: radial-gradient(#0f0, #f00); background: -webkit-radial-gradient(#0f0, #f00); }
|
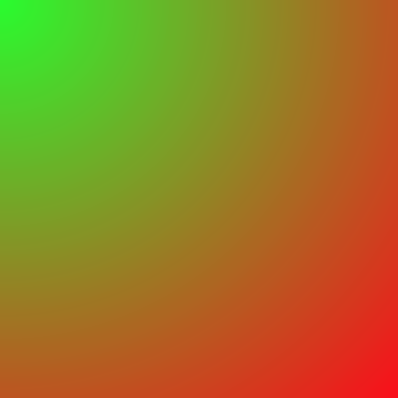
设置渐变中心位置,使渐变中心在框的左上方
1 2 3 4 5 6 7 8
| .box { background: radial-gradient( top left, #0f0, #f00); background: -webkit-radial-gradient( top left, #0f0, #f00); }
|
第二个参数是渐变的形状和大小,形状可以是圆形或者椭圆,大小有以下几个值
closest-side 近边closest-corner 近角farthest-side 远边farthest-corner 远角contain 背景图像完全覆盖背景区域cover 背景图像完全适应内容区域
一般来说的大小排序为,近边<近角<远边<远角,这是由于圆心到边的垂直距离要比点到角的距离更近,contain、cover和background-size中的contain、cover属性类似
1 2 3 4 5 6 7 8 9 10
| .box { background: radial-gradient( 50px 50px, ellipse closest-side, #0f0, #f00); background: -webkit-radial-gradient( 50px 50px, ellipse closest-side, #0f0, #f00); }
|
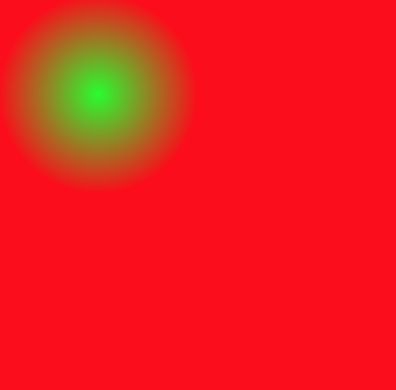
1 2 3 4 5 6 7 8 9 10
| .box { background: radial-gradient( 50px 50px, ellipse farthest-corner, #0f0, #f00); background: -webkit-radial-gradient( 50px 50px, ellipse farthest-corner, #0f0, #f00); }
|
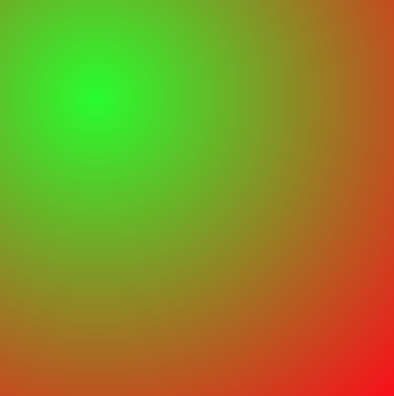
第三个及之后的参数是颜色值与其起止位置,与线性渐变一致
1 2 3 4 5 6 7 8 9 10 11 12
| .box { background: radial-gradient( #0f0 15%, #f00 15%, #f00 30%, #ff0 30%, #ff0 45%, #0ff 45%, #0ff 60%, #00f 60%); background: -webkit-radial-gradient( #0f0 15%, #f00 15%, #f00 30%, #ff0 30%, #ff0 45%, #0ff 45%, #0ff 60%, #00f 60%); }
|
一个简单的靶图

一些例子
结合background-size,背景渐变可以玩出很多花样,下面是一个桌布条纹背景图
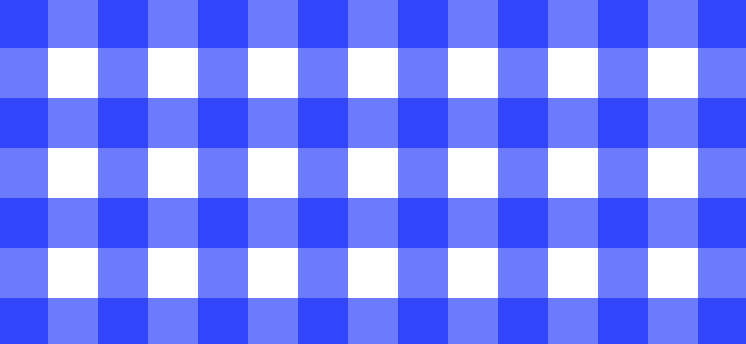
1 2 3 4 5 6
| body { background: linear-gradient(90deg, rgba(0, 0, 255, .6) 50%, transparent 50%), linear-gradient(rgba(0, 0, 255, .6) 50%, transparent 50%), white; background-size: 50px 50px; }
|
结合background-position,可以移动渐变的位置,下面是一个铜板的平铺背景
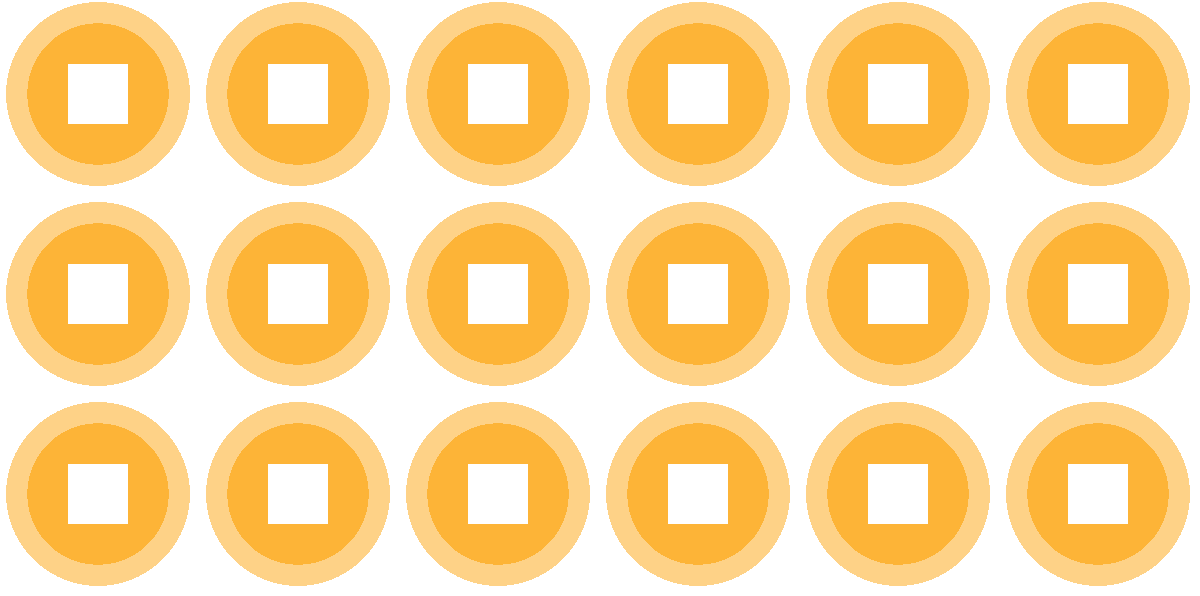
1 2 3 4 5 6 7 8
| body { background: linear-gradient(45deg, #fff 15%, transparent 15%) 35px 65px, linear-gradient(45deg, transparent 85%, #fff 85%) -35px 35px, radial-gradient(transparent 50%, rgba(255,255,255,0.4) 50%, rgba(255,255,255,0.4) 65%, #fff 65%), #ffb521; background-size: 100px 100px; }
|
下面是一个星空背景图

1 2 3 4 5 6 7 8 9
| body { background: radial-gradient(white, rgba(255, 255, 255, .3) 2px, transparent 40px), radial-gradient(white, rgba(255, 255, 255, .2) 1px, transparent 30px), radial-gradient(white, rgba(255, 255, 255, .3) 2px, transparent 50px), radial-gradient(rgba(255, 255, 255, .4), rgba(255, 255, 255, .1) 2px, transparent 30px), black; background-size: 400px 400px, 230px 230px, 310px 310px, 150px 150px; }
|


